Module: System
Dictionary: Core
Why this feature is cool!
Currently, Dynamics does not provide a way to directly e-mail documents to customers or vendors from within the application. This feature would allow the user to email single documents, batches of documents, and/or multiple documents from a list within the system. The user can select which documents they would like to send and also select which customers/vendors should receive their documents in email. This feature also integrates to the Word forms feature shipping in GP2010. Therefore, the user can send the customized Word forms that they have created to their customers and vendors.
- Documents Supported: Sales Quote, Sales Order, Sales Fulfillment Order, Sales Invoice, Receivables Invoice, Receivables Warranty, Receivables Service/Repair, Standard Purchase Order, Blanket Purchase Order, Drop Ship Purchase Order, Drop Ship Blanket Purchase Order, Vendor Remittances.
- Documents can be sent as either an HTML, XPS, PDF, or DOCX attachment.
- Documents can be embedded into the body of the e-mail.
- Customized messages can be created for each document and customer/vendor combination.
- Multiple documents can be combined and sent in a single e-mail.
- Documents can be sent to a To, CC or BCC address.
- Can direct replies to a specific individual or address.
What does it look like?
Setup:
Email Detail Entry:
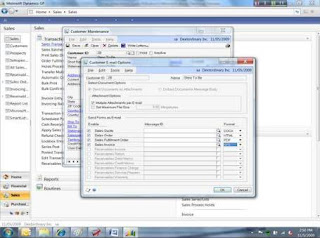
Email - Attachment Options
Module: System
Dictionary: Core
Why this feature is cool!
The emal feature for Dynamics GP will provide the user with the option to either embed the document into the body of the email or attach the document to the email. If the user selects to attached the document to the email, they can choose from following file types: PDF, XPS, DOCX, or HTML. Futhermore, if the user chooses to attached the document to the email, they will have the additional option of attaching multiple documents to one email, or sending each document in an individual email.
- Embed or Attach options can be defined per customer or vendor.
- Sending multiple attachments can be defined per customer or vendor.
- The file type attachment can be selected per customer or vendor, for each document type that they email.
- When sending as HTML, the report writer version of the report will be attached. The Word forms feature is NOT required for this attachment type. Word 2007 does NOT need to be installed.
- When sending as DOCX, the Word form version of the report will be attached. Word 2007 DOES need to be installed on the client.
- When sending as PDF, the Word form version of the report will be attached. Word 2007 DOES need to be installed on the client. (Adobe writer does not need to be installed)
What does it look like?


